
“Should I Put a Neon Sign in My Recording Studio?” — The Producer’s Question
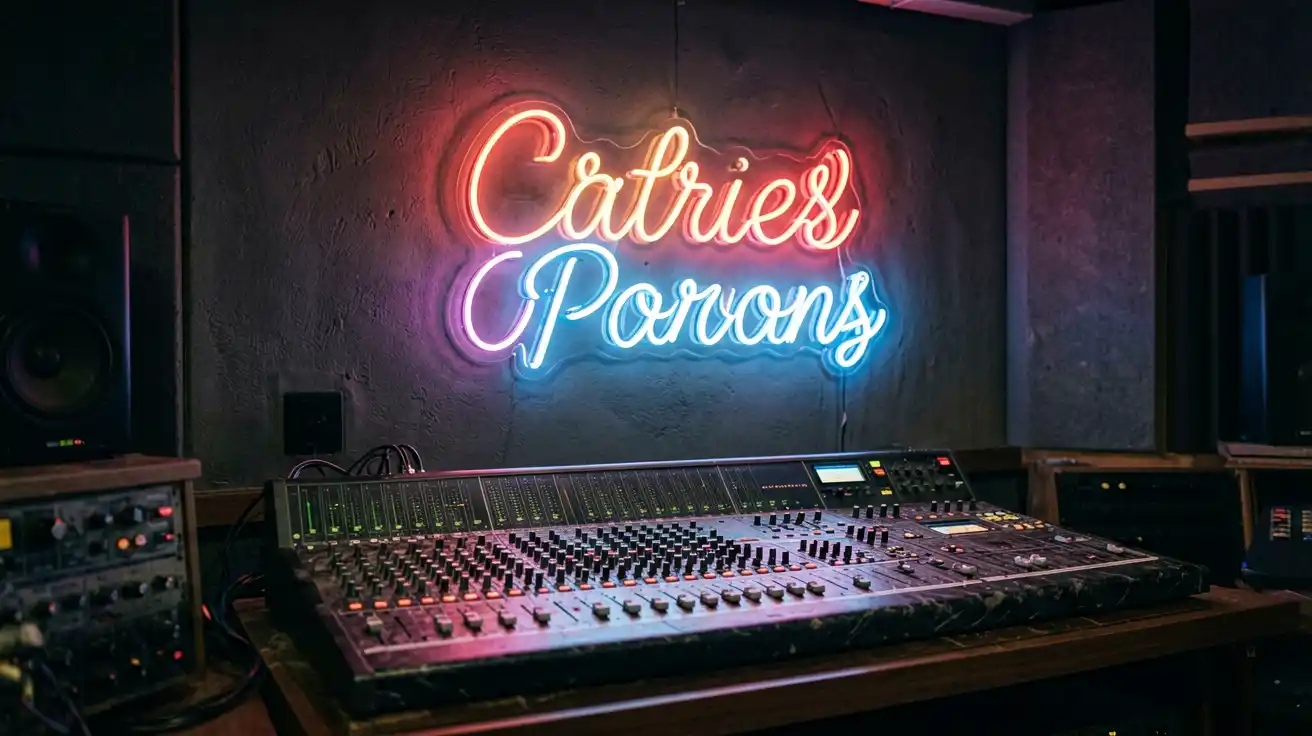
“I just finished my first commercial tracking room. I want the classic neon sign for recording studio vibe for the artist wall, but I’m worried about three things: will it mess with my monitoring, will it blind the talent mid-take, and will it actually make clients come back? Am I overthinking a light fixture?”
Related products: Subscribe Neon Sign – For YouTubers, Streamers & Creators, Grind & Shine Neon Sign – For TikTok & Reels Creators, Subscribe – YouTube Icon Backdrop.
That exact question comes up on r/audioengineering and r/WeAreTheMusicMakers almost every week — and no, you’re not overthinking it. Your studio is a creative space and a commercial one. The right recording studio sign pulls double duty: it sets a mood that keeps clients relaxed and inspired through long sessions, and it photographs so well that artists post their sessions online — free marketing you didn’t have to buy.
The catch is that most studio owners pick a sign for the “look” without thinking about placement, brightness, color — or electrical noise. Get those four right and the sign becomes part of your workflow. Get them wrong and you end up with harsh glare reflecting off the vocal booth glass mid-verse, or a hum sitting under every quiet take. Here’s how to light your studio like the pros who get booked for it.
Why a Neon Sign Belongs in Your Studio (5 Personas, 5 Thumbs Up)
A recording studio neon sign isn’t decoration — it’s a tool that serves five different people who all walk through your door:
| Persona | What the sign does for them | Why they love it |
|---|---|---|
| The Artist (talent in the booth) | Relaxing focal point behind the mic | A warm, soft glow lowers performance anxiety and helps them feel “on brand” for the session. |
| The Producer (you) | Session mood control + brand statement | Dimmable brightness lets you shift energy from focused tracking to celebratory mixing without touching the house lights. |
| The Engineer (listening position) | Visual reference that stays out of the critical sightline | Placed away from the monitor sweet spot, it adds ambience without washing out the screen or creating glare. |
| The Client/Band (paying for the room) | “This is a real studio” signal | A curated sign communicates professionalism and justifies your day rate before anyone plays a note. |
| The Content Creator (session vlogs, BTS clips) | Instagram-ready backdrop | Behind-the-scenes footage with a glowing sign pulls organic views and tags — free promotion for your room. |
When all five are happy, your studio gets booked more often, photographed more often, and talked about more often.
Where to Place It: Studio Wall Placement Guide
Placement decides whether your sign is an asset or an annoyance. The golden rules: never mount it directly behind the vocalist’s head at eye level (it will burn through the camera and distract the talent), and never put it in the engineer’s direct line of sight to the monitors.
| Placement Zone | Best For | Recommendation |
|---|---|---|
| Artist/booth wall (behind or beside mic) | Session vibe + photo backdrop | Mount at eye level but off to the side of the mic, not directly behind the capsule. Keeps it out of boom-shadow. |
| Lounge/waiting area | First impression for clients | Eye-level on the main wall — this is where a bold statement sign earns its keep. |
| Sidewall (off the sweet spot) | Subtle room ambience | Keep it outside the 60° monitor angle to avoid reflecting off screens or glass. |
| Above a couch or sofa | Conversation + BTS backdrop | Above seated head height so it’s visible without ever blocking faces on camera. |
| Corridor / hallway | Brand continuity | Lower brightness so it reads as a path marker, not a beacon. |
Think of the sign as a fill light, not a spotlight. It should support the room’s mood without fighting the talent, the monitors, or the camera. And when you pick the mounting spot, keep the noise question in mind too: the farther the sign and its power supply sit from your mics and interface, the less chance anything electrical has of reaching the signal path.
Dimmable Brightness: Because Tracking ≠ Mixing
This is the feature most studio owners miss — and it’s the difference between a sign you keep and one you unplug after week one. A recording session is bright, focused, and technical. A mixing session (or a listening session with clients) wants a darker, moodier room so attention stays on the music.
| Studio Phase | Ideal Sign Brightness | Why |
|---|---|---|
| Tracking (recording) | Medium (40–60%) | Soft glow relaxes the artist without washing out lyric sheets, screens, or monitor backlight. |
| Mixing / mastering | Low (20–40%) | Reduces screen glare and keeps your ears on the mix — the room goes quiet visually. |
| Client listening session | Low to Medium | Dramatic, professional backdrop that makes the playback feel like an event. |
| Photo / video shoot | Full (80–100%) | Maximum glow for content that needs to pop on social. |
A dimmable On Air sign or any adjustable neon lets you flip between “focused work” and “brand moment” in seconds. If dimming isn’t built in, choose a warm-white or single-color sign you can pull to low output with a dimmer switch — never a harsh, pulsing brightness that distracts during takes.
There is one more reason to care about dimming: how it’s done. Dimming by rapidly switching the LEDs on and off (PWM) can, at low switching frequencies, produce an audible buzz that creeps into sensitive gear. Studio-grade signs dim with high-frequency PWM — above 1 kHz, well outside anything your mics will translate into the recording. We cover that in detail in the noise section below.
Color Psychology for Recording Studios
Color is the quietest tool in your studio — and one of the most powerful. It changes how clients feel, how long they stay relaxed, and how much they remember the session. Here’s how to choose:
| Color | Mood It Creates | Best Studio Use |
|---|---|---|
| Warm white / amber | Calm, cozy, timeless | Tracking and lounge areas — the safest, most professional choice. |
| Blue | Cool, focused, modern | Control rooms and tech spaces; signals precision. |
| Purple / pink | Creative, energetic, “internet-famous” | Photo walls and hip-hop / pop content corners. |
| Red | Intense, dramatic | Statement accents only — too much red can read as “alarm” during long sessions. |
| Green | Fresh, relaxed, easy on the eyes | Green rooms and chill-out areas where artists wait. |
Match the color to the energy of the session, not just the vibe you like. A warm white sign reads as timelessly professional to corporate clients, while a Music Is Life piece in purple instantly says “creative space” to the artist crowd. You can even run different colors in different zones — calm in the booth, bold in the lounge.
One practical footnote for the control room: warm white and amber are the safest choices around calibrated monitors because they don’t throw a strong color cast across the room. Saturated blue or green light bouncing off a wall can nudge how you perceive on-screen color grading and reference photos during a mix.
Will a Neon Sign Buzz Through My Microphone?
“I’m setting up my home recording studio. I want that classic neon sign look for the vibe, but I’m terrified of electrical noise bleeding into my recordings. Is there a neon sign that won’t hum through my SM7B?”
That question on r/audioengineering and r/WeAreTheMusicMakers gets asked regularly — and it’s a legitimate concern. Cheap neon signs can introduce buzz, hum, and RF interference into sensitive recording equipment. The good news is that the cause is well understood and entirely avoidable.
The Problem: Why Some Neon Signs Buzz in Studios
The issue comes down to power supplies. Cheap LED neon signs use low-quality switching power supplies that produce electromagnetic interference (EMI). This interference can be picked up by:
- Dynamic microphones (SM7B, RE20) — less susceptible but still at risk with bad power supplies
- Condenser microphones — more sensitive to EMI, especially in the 60Hz-10kHz range
- Guitar pickups — single-coil pickups are notorious for picking up electrical noise from nearby electronics
- Audio interfaces — poorly shielded interfaces combined with dirty power create audible hum
None of that is inevitable. It’s a spec problem, not a “neon” problem — which means it’s fixable at the point of purchase.
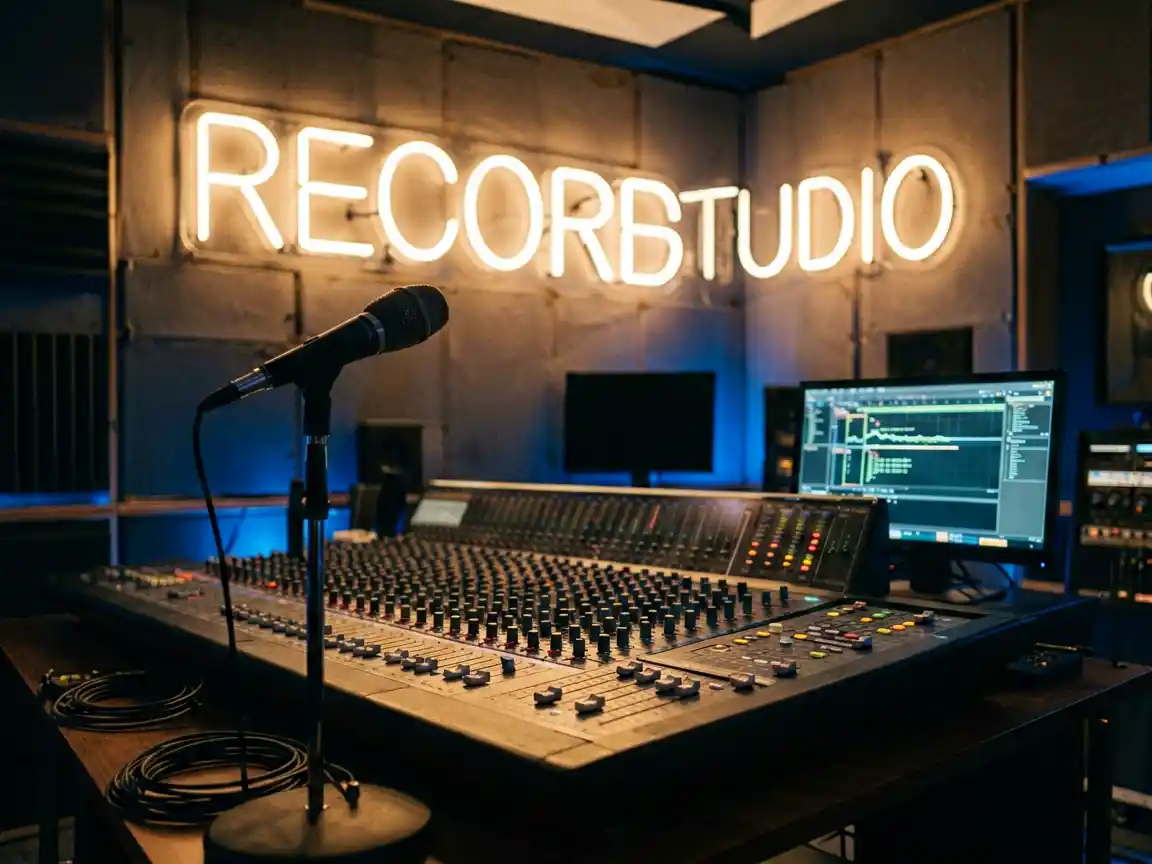
What to Look For in a Studio-Safe Neon Sign
When you’re comparing signs, the spec sheet is where the noise battle is won or lost. Here’s the side-by-side that matters:
| Feature | Good for Studio | Bad for Studio |
|---|---|---|
| Power supply | UL/CE certified, shielded, medical-grade | Unbranded, unshielded, cheap adapter |
| Driver type | Constant-current LED driver with EMI filtering | Resistor-limited, no filtering |
| LED quality | 12V/24V DC, low EMI emission | No-name strips, inconsistent voltage |
| Dimming | PWM dimming with high frequency (>1kHz) | Low-frequency PWM (audible buzz) |
| Cable shielding | Braided shielding on power cable | Unshielded barrel connector |
A studio-quality neon sign for recording studios should come with a high-quality UL-listed power adapter and RF-shielded cable. The LED driver should use constant-current technology with EMI suppression built in. If a listing doesn’t tell you what power supply or driver it uses, that silence is your answer.
What Reddit Sound Engineers Actually Recommend
From a mastering engineer (r/audioengineering):
“I have a neon sign in my control room. The trick is: plug it into a different circuit than your audio gear. And buy a sign with a good power supply — not the $12 adapter that comes with cheap signs. My sign is on a Furman power conditioner and there’s zero noise, even with my SM7B maxed out.”
From a home studio owner (r/WeAreTheMusicMakers):
“I bought a $50 ‘studio’ neon sign off Amazon. Big mistake. Constant hum. I replaced it with a proper sign from a custom manufacturer with a shielded power supply. Night and day difference. My recordings are clean.”
The pattern in both answers is the same: the sign itself is rarely the villain — the cheap power supply behind it is. Fix the power, fix the noise.
Practical Setup Tips for Your Studio Neon Sign
Even with a studio-safe sign in hand, how you wire and position it decides the final result. Five rules cover almost every real-world case:
- Separate circuits — Plug the sign into a different electrical circuit than your recording gear. This alone eliminates 90% of potential noise issues.
- Use a power conditioner — A basic Furman or Tripp Lite power conditioner filters out line noise and provides clean power.
- Distance matters — Keep the sign at least 3-4 feet from your microphone, guitar amp, or audio interface.
- Test before mounting — Plug the sign in and test with your recording chain before permanently mounting it on the wall.
- Choose warm white or amber — These colors look great on camera and don’t introduce color casts that screw up monitor calibration.
If you follow those five and still hear something, the noise is almost always coming from another device on the same outlet — not the sign.
Picking the Right Sign: Ready-Made vs Custom
If you’re setting up fast, a ready-made phrase gets you there today: microphone & headphones icons for a music-theme accent, “Recording” for the booth wall, or “On Air” to signal when the room is live. These are the fastest way to get the vibe on the wall before your next session.
| Decision | Ready-Made Sign | Custom Sign |
|---|---|---|
| Speed | On the wall for your next session | Design proof, then production — plan for a lead time |
| Branding | Generic phrase or icon | Your studio name, logo, or tagline |
| Photo value | Nice backdrop | Every client photo carries your brand |
| Best for | Accents, green rooms, quick vibe fixes | Booth wall, lounge hero wall, main brand statement |
| Spec control | Check the power supply and driver before buying | Specify shielded power supply and dimming option |
Plenty of studios run both: a quick ready-made accent in the lounge, and one custom piece as the hero on the booth wall. Either way, the studio-safe spec from the table above applies to both.
But the studios that win the booking wars aren’t the ones with generic signs — they’re the ones with their own name, logo, or tagline glowing on the wall. A custom neon sign turns your studio name into a built-in brand asset that appears in every client photo, every BTS clip, and every testimonial screenshot. That’s not decoration; that’s your logo working while you’re working.
Order it with your chosen colors, a dimming option, and a shielded power supply, approve a free digital proof, and it ships ready to mount — no electrician required.
Key Takeaways
- A neon sign in a studio is a mood tool and a brand asset, not just wall decor — place it to relax talent and photograph well.
- Never mount it directly behind the mic capsule or in the engineer’s monitor sightline. Keep it off to the side, at eye level.
- Dimming is non-negotiable: bright for photo moments, low for mixing, medium for tracking. One sign, all three moods.
- Use color psychology — warm white for pro clients, creative colors for content corners, calm tones for green rooms.
- Buy for a shielded power supply and EMI-filtered driver, run the sign on a separate circuit or a power conditioner, and keep it 3-4 feet from mics and interfaces. That’s how a neon sign stays silent through your chain.
- Pair a ready-made phrase with your own custom studio name/logo for maximum brand recall.
Ready to give your room a signature glow that stays quiet through the quietest take? Start with a custom neon sign in your studio colors, add a dimmer and a shielded adapter, and watch your wall become the backdrop every artist wants to be photographed in front of.