
1. Before You Start
Y SIGNS LED neon signs can be installed in 5-15 minutes — no electrician needed.
Three things to confirm beforehand:
- Mounting surface: Check wall material (concrete, brick, wood, glass) and choose the right method
- Power access: Ensure an outlet within 5ft (sign comes with 6ft power cord)
- Clearance: Minimum ceiling height of 7ft to avoid bumping into the sign
2. Three Installation Methods
Method 1: Screw Mount (Recommended)
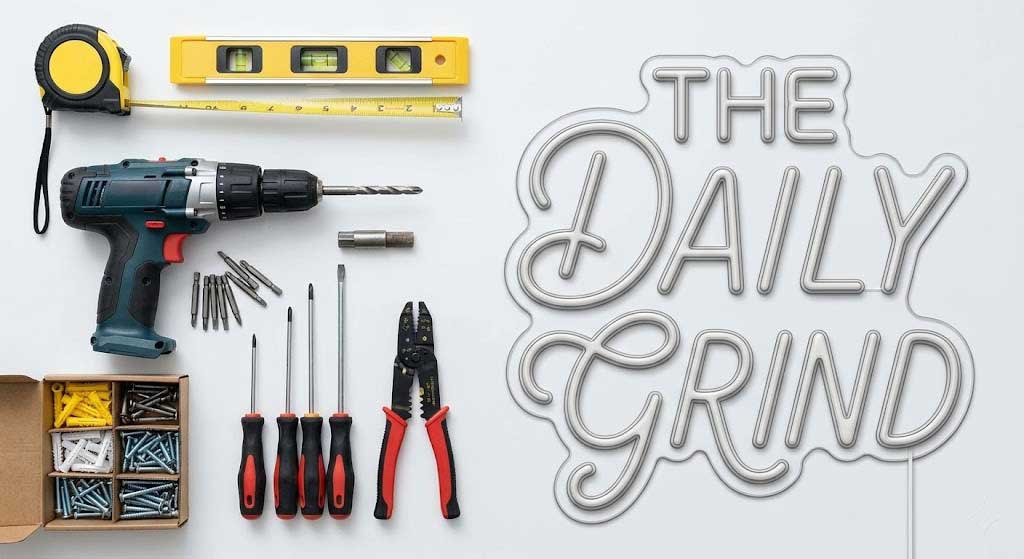
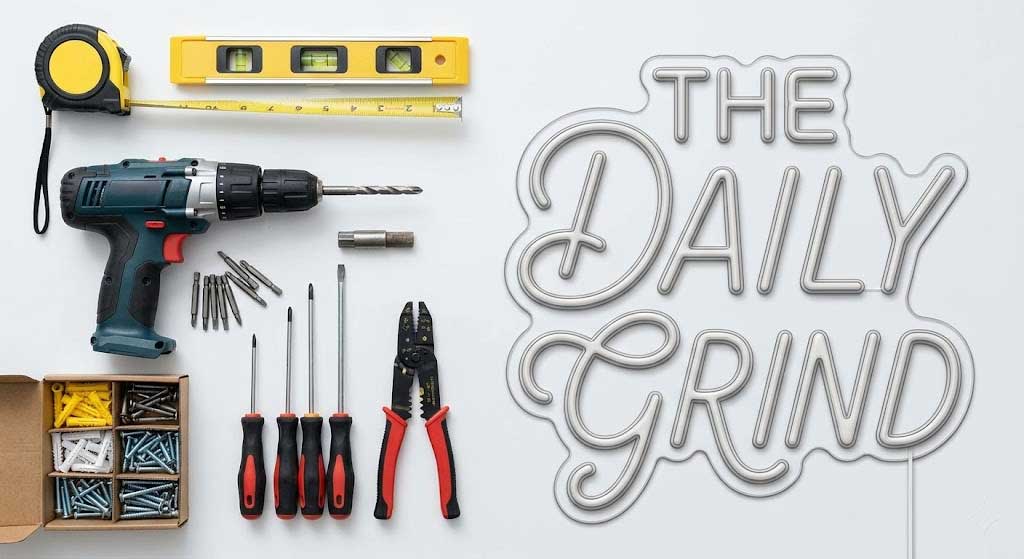
Y SIGNS includes stainless steel screws and wall anchors:
- Mark 4 mounting points with a level
- Drill 6mm holes
- Insert wall anchors
- Screw through the backplate mounting holes
Best for: Bar backdrops, entrance walls, feature walls — most restaurant scenarios.
Method 2: 3M Strong Adhesive (Lightweight Only)
For signs under 16×12in and 2lbs:
- Clean surface — must be dry and grease-free
- Apply 3M strips to backplate corners
- Press firmly for 30 seconds
- Wait 24 hours for maximum adhesion
Note: Not recommended for kitchen areas, outdoors, or high-humidity environments.
Method 3: Ceiling Hanging
Some models like the VIP Lounge Neon Sign support ceiling mounting:
- Install ceiling hooks (5kg+ rating)
- Attach stainless steel chains or clear fishing line
- Adjust to desired height
- Route the power cord along the ceiling
3. Restaurant-Specific Installation Tips
| Area | Recommended Method | Warning |
|---|---|---|
| Above bar counter | Ceiling hanging | Leave enough height — guests shouldn’t hit their heads |
| Entrance/storefront | Screw mount on wall | Ensure covered from rain; use stainless hardware |
| Above open kitchen | Screw mount on wall/ceiling | Keep at least 3ft from range hoods |
| Booth backdrop | Screw mount | Bottom edge at least 12in above seated head height |
4. Wiring & Safety
Steps:
- Plug the sign’s male connector into the power adapter’s female connector
- Ensure a snug, secure fit
- Plug adapter into wall outlet (100-240V wide voltage)
- Toggle the switch (if equipped) to test
Safety rules:
- ❌ Never wipe with a damp cloth while powered on
- ❌ Never cut the power cord (voids warranty)
- ❌ Never daisy-chain multiple signs on one adapter
- ✅ Turn off when the restaurant closes to extend lifespan
- ✅ Keep the adapter away from water and heat sources
5. Daily Maintenance
- Weekly: Wipe with a dry soft cloth (every 3 days in greasy kitchens)
- Monthly: Check screws for tightness
- Quarterly: Damp cloth (wrung out) on the backplate, then dry immediately
- Biannually: Check the adapter for abnormal heat
More maintenance tips in our Installation & Care Guide.
6. FAQ
Q1: Do I need an electrician to install?
Usually not. The 12V system is plug-and-play. You only need an electrician if there’s no nearby outlet and you need to run new wiring.
Q2: What about outdoor installation?
Ensure the sign is under an awning or overhang. Use the included stainless steel screws to prevent rust. If rain exposure is unavoidable, add a transparent weather cover.
Q3: Will screws damage my wall?
They leave 4 small holes (6mm each). A small price to pay for the branding impact. When removed, fill with spackle for an invisible repair.
Q4: How do I clean a high-mounted neon sign?
Use an extendable duster or compressed air. Don’t stand on an unsteady ladder and scrub hard.
Q5: Can I move the sign after installation?
Yes. LED backplates have multiple mounting holes for repositioning. For 3M tape, remove and clean residue. Y SIGNS signs support multiple install/uninstall cycles as long as the strip isn’t bent beyond 90°.